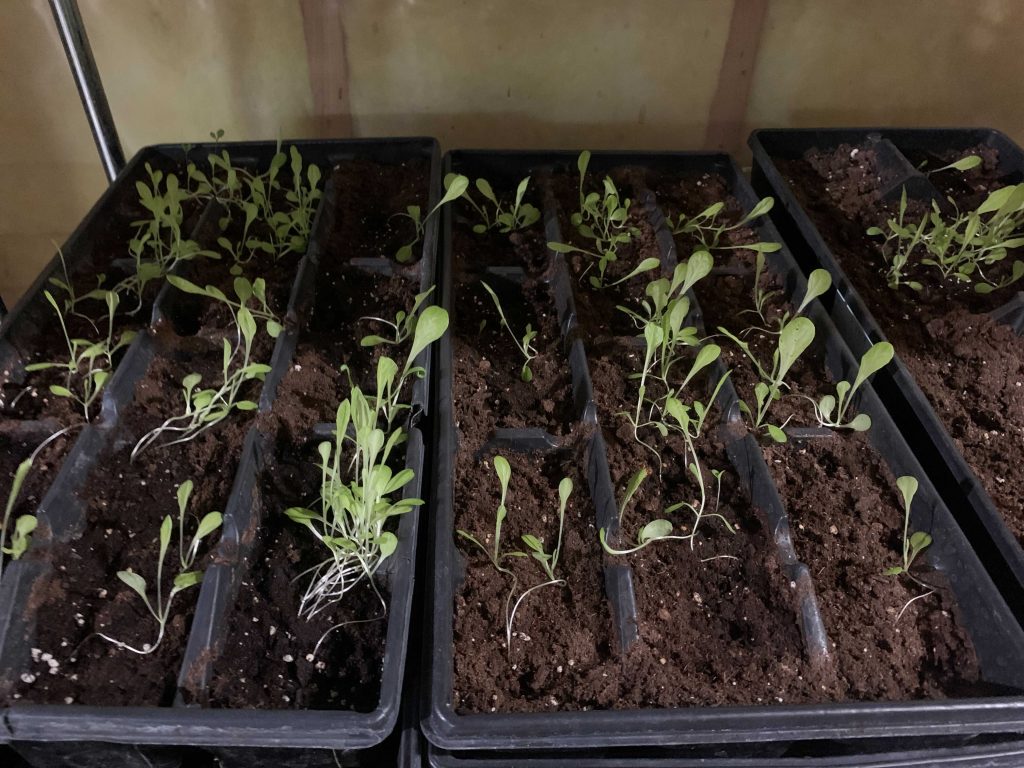
It was the summer before the pandemic. My husband painstakingly built my greenhouse with the help of neighbours and then needed the rest of the summer to recuperate (ha!). The seedlings I had sowed with anticipation in wide baking pans under cozy armchairs indoors moved to their new home in the greenhouse. There, they sprang to life with such speed and abundance that I realized for a first time – I have a crop of microgreens!
We had long been sprouting mung beans, alfalfa and radish on the kitchen counter. But I realized with the sprouting kit we originally used was gimmicky, since we could sprout in 2 days in any bowl of shallow clean water (changing water ever 12 hours).
Now presented a new phenomenon for my less than green thumb… my definition of microgreens: many edible baby seedlings grown in a tight space. Rapini, mustard, peas and cress galore. Way too many to separate and create individual heads. Greens that in the August heat would never survive to full ‘planthood’ in our 3 season greenhouse, despite a small solar-generated vent working overtime. We would have to eat them as microgreens.
This sudden awareness got me thinking and opened my eyes to the many ways I could tuck the greens into our somewhat average Canadian diet. We were a bit tired of sprouts anyways and were hungry for something new. So easy were the small leaves of the tender greens to quickly wash and stuff (ideally roots n’ all) in a sandwich or cubby of a lunch box, in a smoothie or added to a larger bowl of salad. Chopped into omelette, sprinkled on a dollop of sour cream on homemade soup or over goat cheese and toast, hidden in pancakes and muffins. Some folks even throw them into a juicer with other vegetables. (The microgreens pesto on pasta with olive oil was wonderful to savour, but my 4 kids thought otherwise).
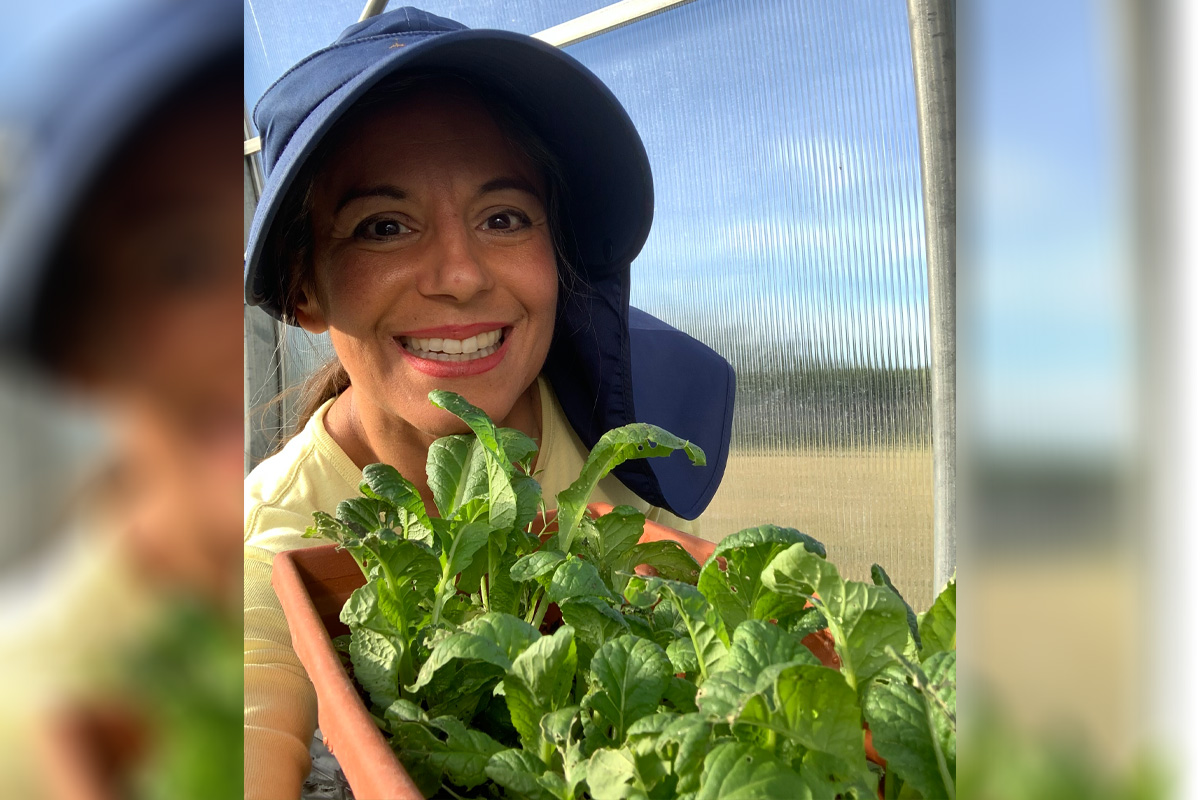
Tanya’s tender microgreens, which are about 2-3 weeks old.
The benefits of microgreens are well-documented. They’re easier on digestion than older greens and even stimulate improved digestion. They’re teeming with live enzymes when eaten right away, and brimming with vitamins, minerals, and prebiotics. Take micro-kale for example: this microgreen will give you vitamins A, B, C, E, and K, as well as calcium, iron, magnesium, phosphorus, potassium, zinc, carotene, amino acids, and protein!*
Where else have I experimented growing microgreens? Well, not just in the greenhouse. I took a few chunks of them in their soil and hid them under a spruce tree in my landscaped garden. Plunked some into my perennial vegetable patch, and tried to later in the fall sow them on my furnace room grow-light rack.
The following February, the pandemic was in full swing. So, I prudently started everything early in my pans under my armchairs again. This time, with the intention to eat the microgreens before ever moving them to the greenhouse. Guests would remark: did you know you have plants growing under your chairs? Often, I would forget they were there so would rush to water them, but as they grow more slowly with natural light, their water needs are less than under the grow lights, which seem to require water every 48 hours.
This year, I started growing under the grow lights at the end of October, and can’t wait for the next crop of tender, yet crunchy and juicy microgreens. Will you be starting your winter microgreen garden?
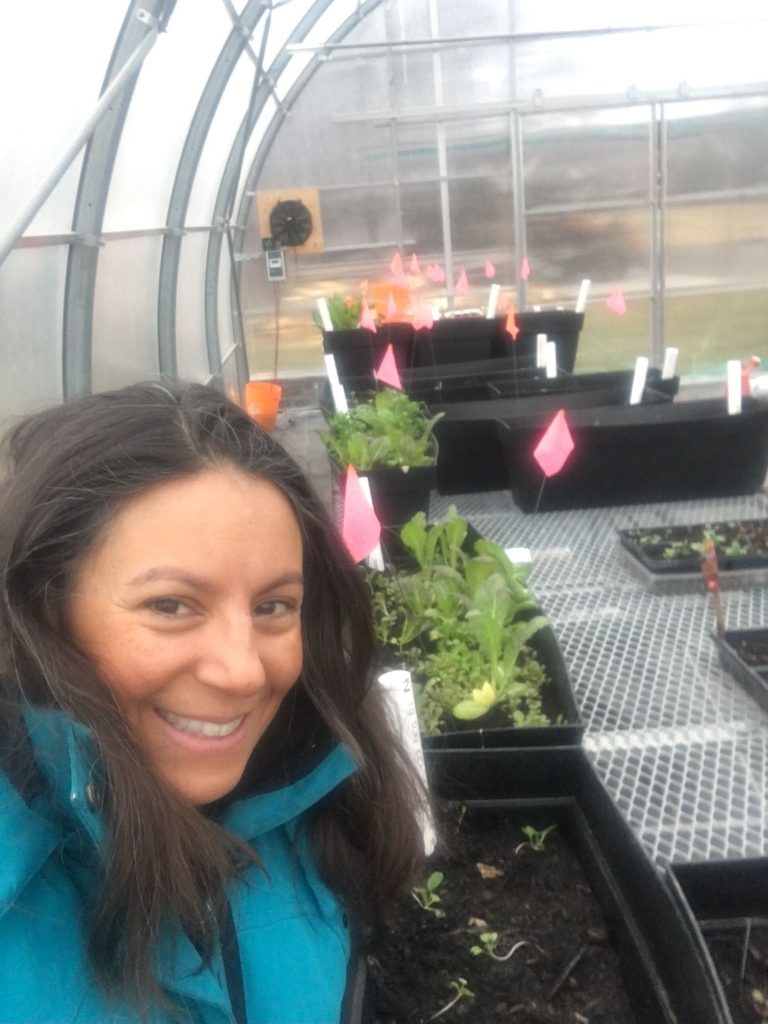
Tanya hanging out with her microgreens in her greenhouse in mid-March.
A wise tip for those getting started.
I learned this the hard way… you do not want an insect infestation in your home! Be sure to use clean, new bagged soil starter mix for an urban or indoor garden of any type. Do not bring in any seedlings or soil from outdoors including triple mix. And be prepared to hang an insect trap nearby. Trust me.
*https://www.westcoastseeds.com/blogs/how-to-grow/grow-microgreens





Leave A Comment